Gorgeous Garden Window Boxes – Added Beauty
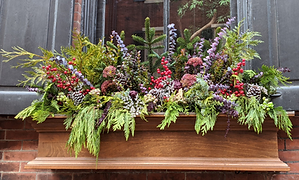
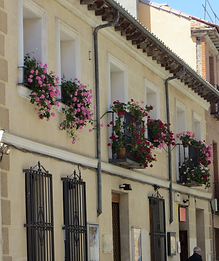
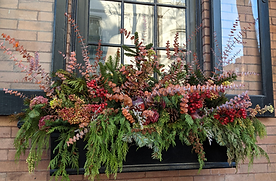
Many people dream of having window boxes filled with beautiful, overflowing flowers that cascade to the ground. Window boxes add charm and grace to any home or building. I love traveling through European towns and experiencing the elegance of the buildings sprinkled with gorgeous flowers. In this post you will learn how to create the best garden window boxes around.
(Some of the links within this post are affiliate links on which I receive a small compensation from the sale of certain items.)
(As an Amazon Associate I earn from qualifying purposes)
Beginning Tips – Which to Choose?
There are many types of window boxes.
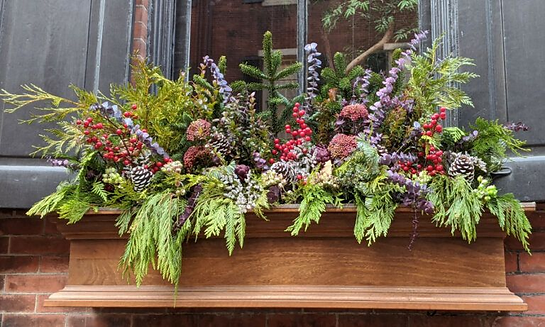
1. Wood – Wood boxes are the most versatile. They come in many shapes and sizes to complement your home’s style and can also be custom built. Unfinished wood boxes allow you to paint them whatever color complements your home. Be sure to ascertain from what kind of wood the boxes are made. Soft woods like pine are prone to rot and will not last many seasons.
Cedar and redwood are more dense and hardy and will better withstand the elements. Both types benefit from placing a plastic liner inside to prevent water damage and insect infestation. Wood is very heavy and requires sturdy braces.
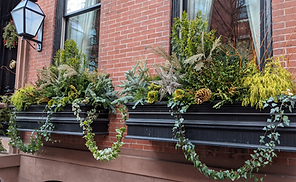
2. Fiberglass and resin – These are good alternatives to wood. They are very lightweight. Resin boxes are made to look like terra cotta or natural wood. Fiberglass boxes are very sleek and contemporary looking and are usually black. They are not susceptible to rot and insect damage. You do need to provide proper drainage by adding rocks to the bottom. However, some of these boxes have a punch out hole for drainage. Since they are lightweight these boxes can easily be blown off their stands unless you have added enough soil and flowers.
3. Plastic – Plastic window boxes are the cheapest around. Usually beginner gardeners will use these because of their inexpensive price and their inexperience with window boxes. These boxes do not hold up well to the elements and will crack and peel over time. They are also lightweight and will blow off their stands easily. Plastic boxes do not rot and will not be infested with insects but do not come in many varieties or shapes. They are not as aesthetically pleasing as other styles especially if you wish to create a country cottage look.
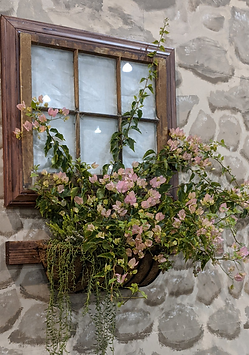
4. Terra cotta – Terra cotta is beautiful and elegant. It is porous so there are no worries regarding rot or insect infestation. Because it is porous, you should soak the pot in water before filling it up with soil and plants. Otherwise, the box will absorb all the water before the plants have a chance to drink it for themselves. Consistent watering is imperative with terra cotta. These boxes will dry out very quickly. They are also heavy and cumbersome to attach to a stand. Terra cotta boxes are expensive and will crack during winter months. They should be brought inside if the temperature dips below freezing.
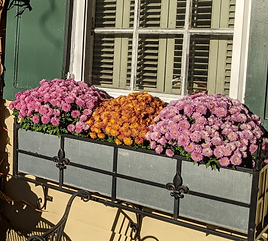
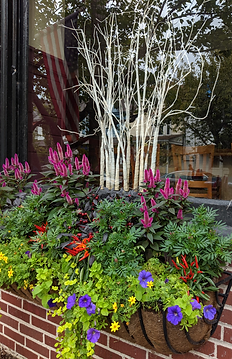
5. Metal – Metal window boxes are usually made from copper or aluminum. The copper boxes diffuse nutrients to the flowers. The aluminum boxes are extremely durable. Both are very expensive but will last a long time. The metal does not rot like wood nor is it prone to insect infestation.
Rust is an issue if your boxes are in direct contact with the elements. They will also scratch and get nicked throughout the years. Also, darkly colored boxes will significantly heat the roots of the plants if the box is subjected to direct sunlight for a prolonged period of time. You can place a plastic liner in them or have a more natural look with a coco liner or moss.
The Choice is Yours
The choice of which window box to use is yours, but remember you will also have to install brackets to hold your boxes. Take into consideration what material you will be attaching the brackets to and buy the proper ones that match your box.
===<Purchase Window Boxes from Amazon>===
Will the boxes destroy my house?
The boxes should not damage your house if attention is given to the installation. Make sure it is properly installed and far enough away from your window. Also, a slight downward slant is beneficial to prevent water from ponding on the sill of the window. If need be, hire a professional to install the boxes.
Where Should You Place Your Window Boxes?
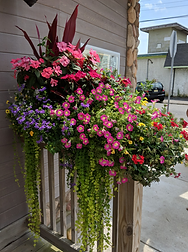
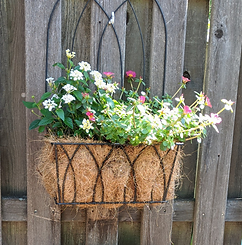
Window boxes can be added to the front, side or back of the house. They can be added to sheds and/or any out buildings you may have on your property. You can even attach window boxes to fences with hooks to add a spot of color to the garden.
Is it sunny or shady?
Once you have decided where you would like to place the boxes, check out the sun for a day.
Does it get 3 hours of sun, 6 hours, no sun, mostly shade? Knowing this will help you decide not only what type of box you want to install but which type of flowers to purchase.
Is it rainy?
You can not always rely on the rain to water your boxes. Rain water is another element to consider when deciding where to place your boxes. If your rain generally comes from the south and you place them in the south, they will probably benefit from the rainfall.
Where I live in the northern hemisphere, rain generally does come from the south in the summer. Rain coming from the north is very unusual so a box placed on the north side will not benefit sufficiently from those rains. It all depends on where you live and where you attach your window boxes. So take heed of the direction of the rain.
Regardless from which direction your rainfall originates, you may need to water the boxes more frequently due to roof overhangs from your home.
Soil and Planting Tips
Here are some easy tips on how to create beautiful garden window boxes.
- First, begin with good potting soil. Remember this is the plant’s food so feed it well.
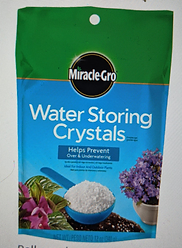
- Next, add water storing crystals to your soil to maintain a proper amount of moisture to the plants. The crystals absorb and release water as needed.
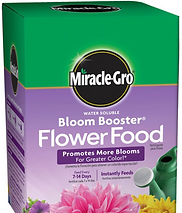
- Remember to fertilize generously. With Miracle Gro Bloom Booster you can fertilize once a week especially in the beginning when your plants are starting to grow big and strong.
- Do not follow the rules on the flower tags. Instead of placing them six to eight inches apart, disregard that and fill the pots with flowers only two to three inches apart.
- Lastly, plant the correct flowers for your site. If it’s shaded, plant shade plants, if it’s sunny, plant sun plants.
It’s Planting Time
Design
Think about the design of your box before buying plants. You could have taller plants in the center and work your way to shorter ones on either side. Another choice would be to have an odd number of taller plants
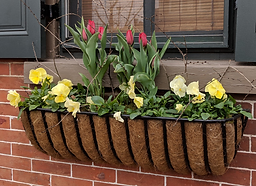
evenly spaced throughout the box and then fill it in with other trailing varieties. Remember to think odd numbers, especially for the main themed plants. And also think symmetry. Have some semblance of symmetry to your choice of flowers.
Color Scheme
Consider color schemes. Do you want cool colors, warm colors, a combination? Maybe you would like it to be monochromatic with some texture thrown in. Have a plan in mind before purchasing flowers.
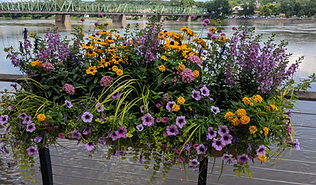
Have a variety of plants in your window boxes. Begin with a main themed plant such as a begonia, geraniums, zinnias, or nasturtiums. Then add trailing varieties of plants, like trailing petunias, sweet potato vines, ivy, trailing lobelia, creeping phlox or creeping jenny. You can arrange some dusty miller in between to add a neutral element to the mix. Remember texture and shape also add interest to the mix. Impatiens and coleus do well in shaded boxes.
Time to Reap The Benefits
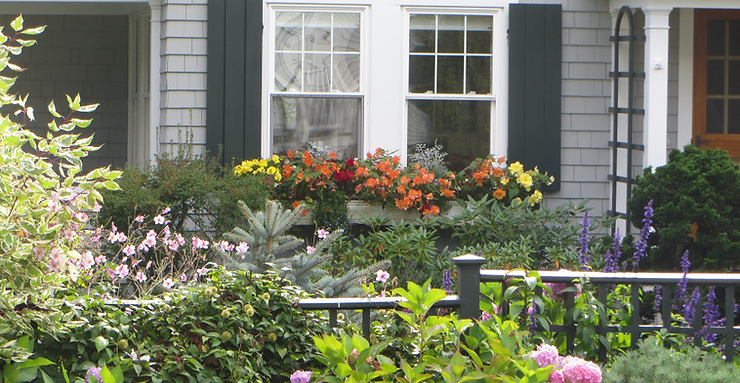
Window boxes add beauty and curb appeal to any home or structure. Once your flowers are established, they will provide lasting beauty throughout the season. They can also be re-themed for the different seasons. I personally love seeing the flowers from the inside of my home. Garden window boxes add a warm inviting element to any home.
Happy Gardening!
If you have any comments, or questions, please leave them below. I’d love to hear from you!
bestgardeningforbeginners@gmail.com
